The Need for Privacy
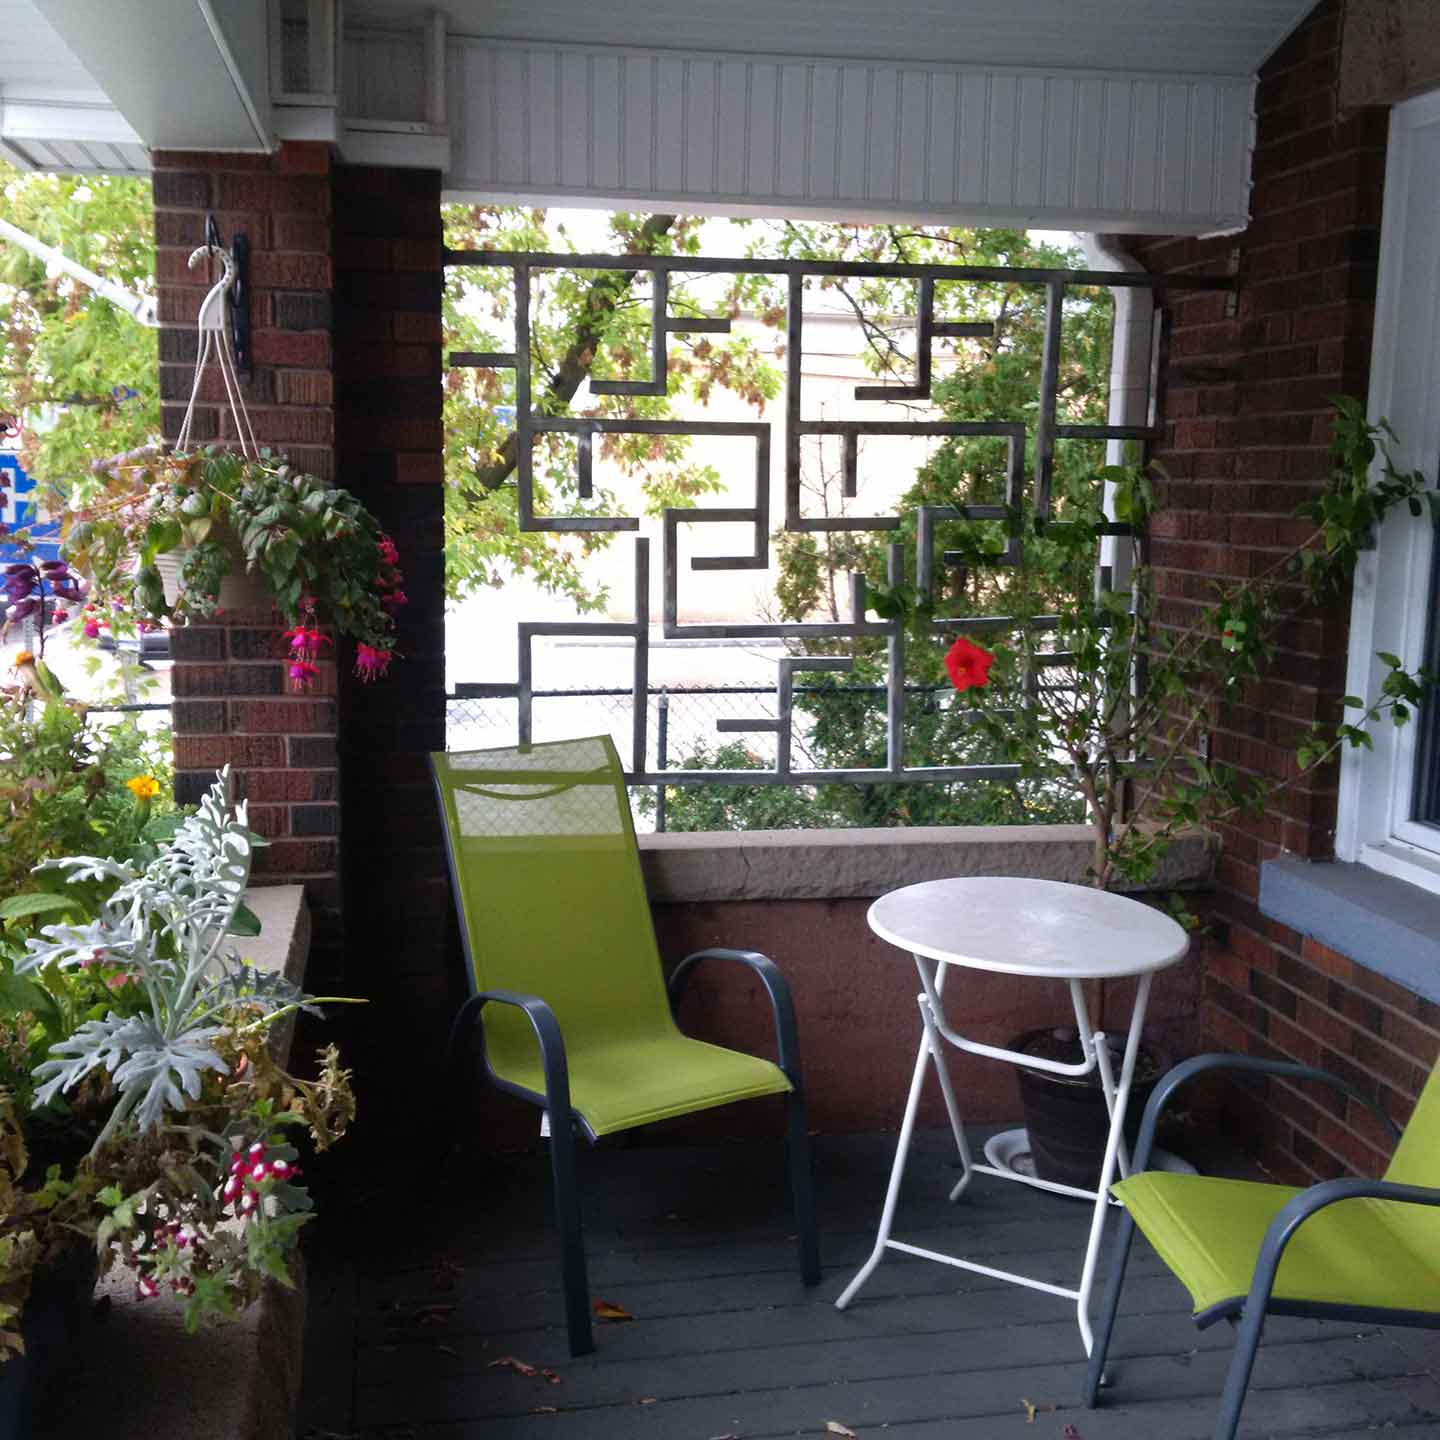
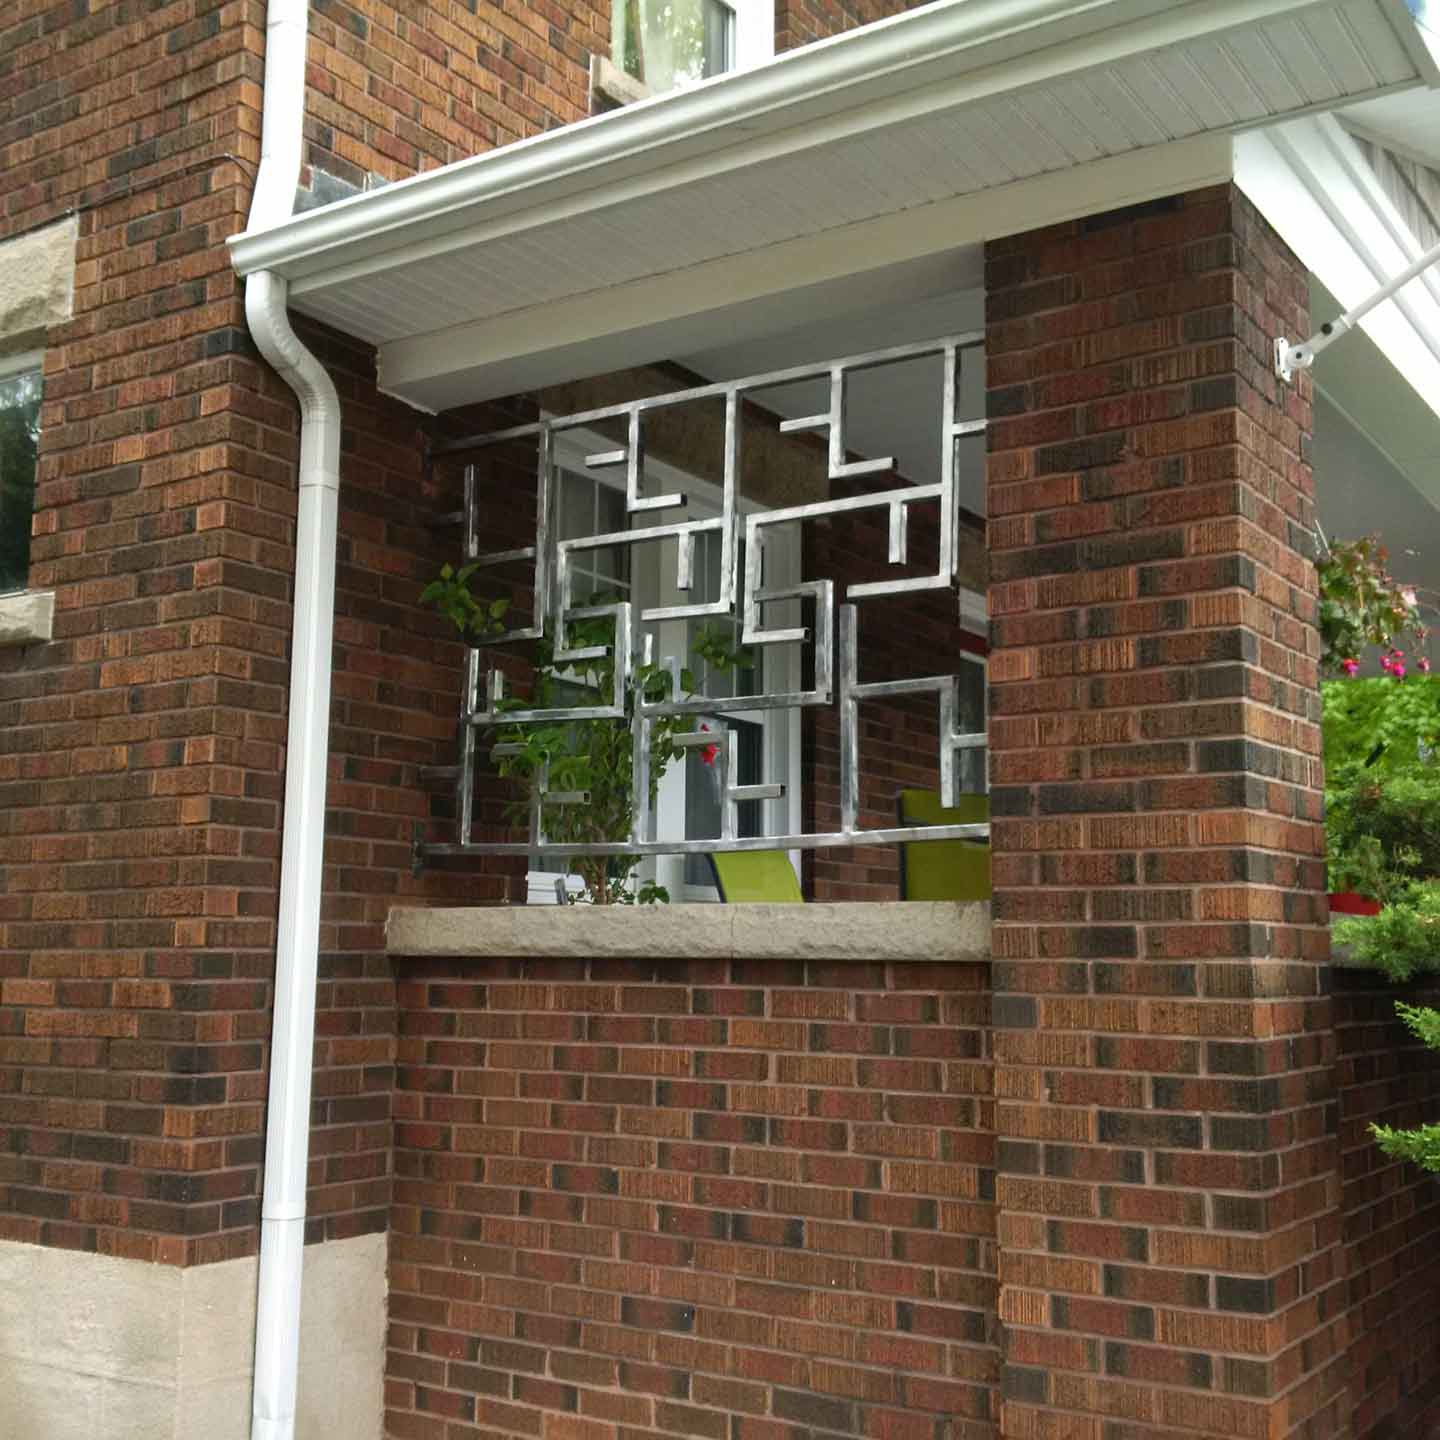
This was a fun project to work on. The layout and dimensions were designed by a friend of mine who is also an Industrial Designer. I take no credit for the look and size of this screen. He and his wife live next to a small mall complex, on a busy street. There’s also a bus stop right outside their front door. As you can imagine, there’s a lot going on here and they felt exposed to all the activity going on. Their plan was to put up a visual cue of privacy without actually blocking the space with a wall. They wanted light and air to move through their space but wanted people to know that the area isn’t for the eyes.
The Design Brief
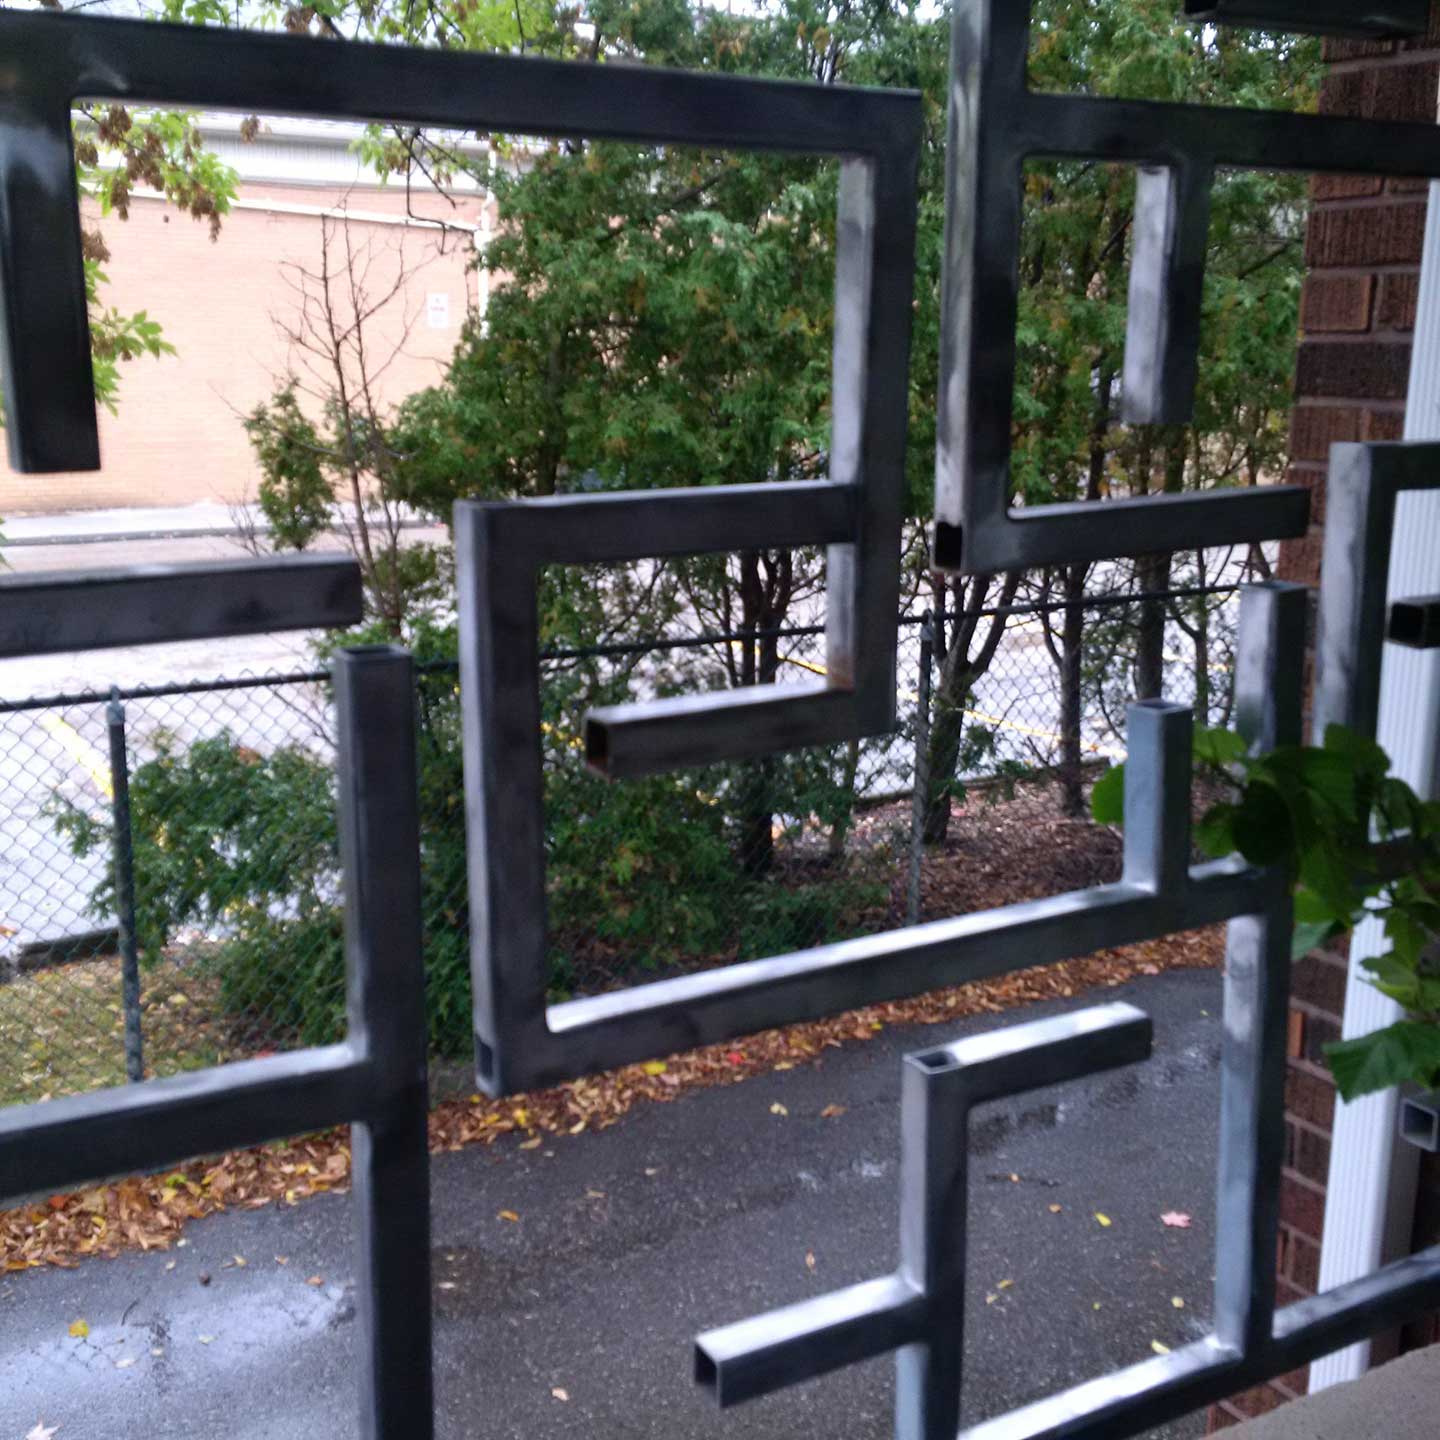
The project consists of two pieces with a simple, geometric layout. Both pieces are exactly the same layout. The design intent is such when installed, it’d be hard to see the repeating pattern. The screen would look randomized in appearance. They decided to use 1” square steel tube and ¼” flat steel plate was used for the mounting brackets. After some debate about the finish, in the end, they let the piece oxidize naturally.
Preparing the Project for Assembly
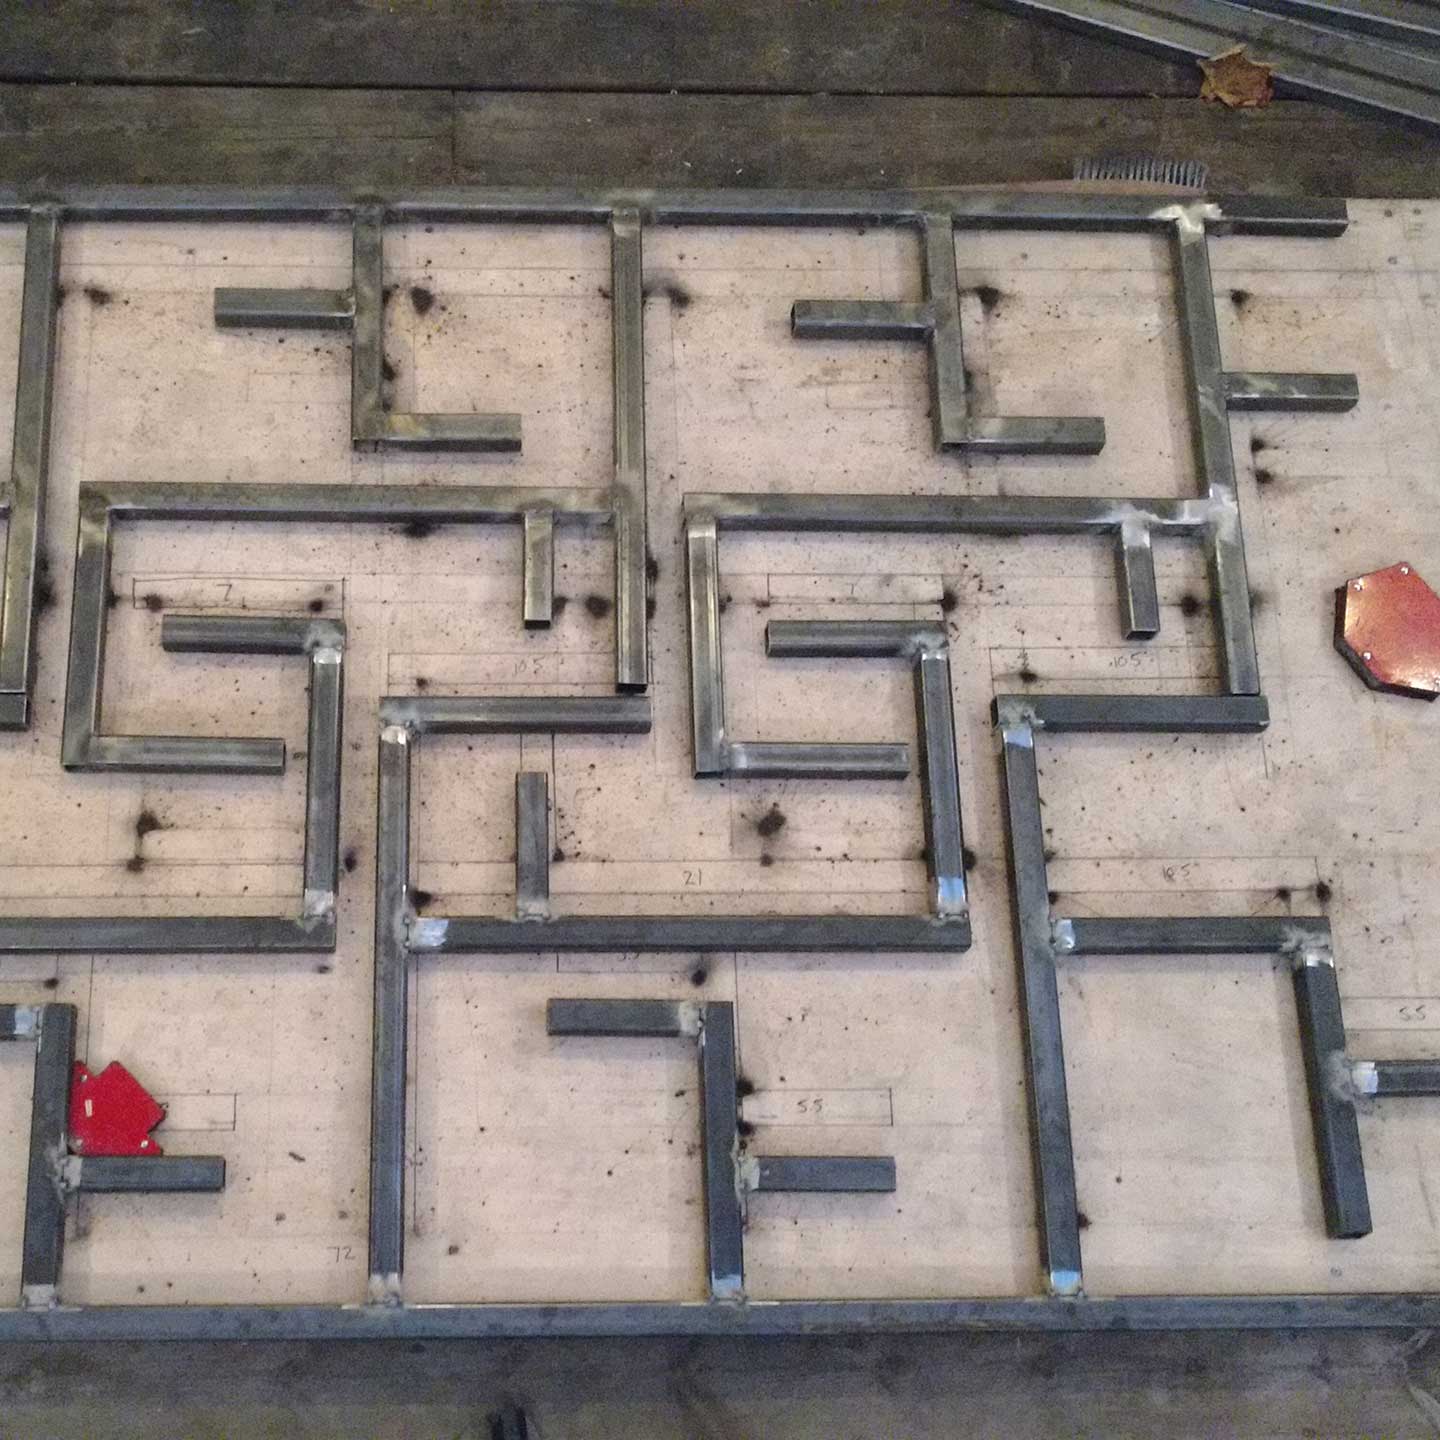
My process for this project was very simple. Since a lot of parts are the same, I built a stop for my abrasive chop saw. This allowed me to cut many pieces of the same length. I’d extend the stop, then cut the next series of pieces. This helps to speed up my workflow. It’s also how I like to work in general. I’ll spend more time upfront to build jigs that will then speed up my production processes.
Welding the Pieces Together
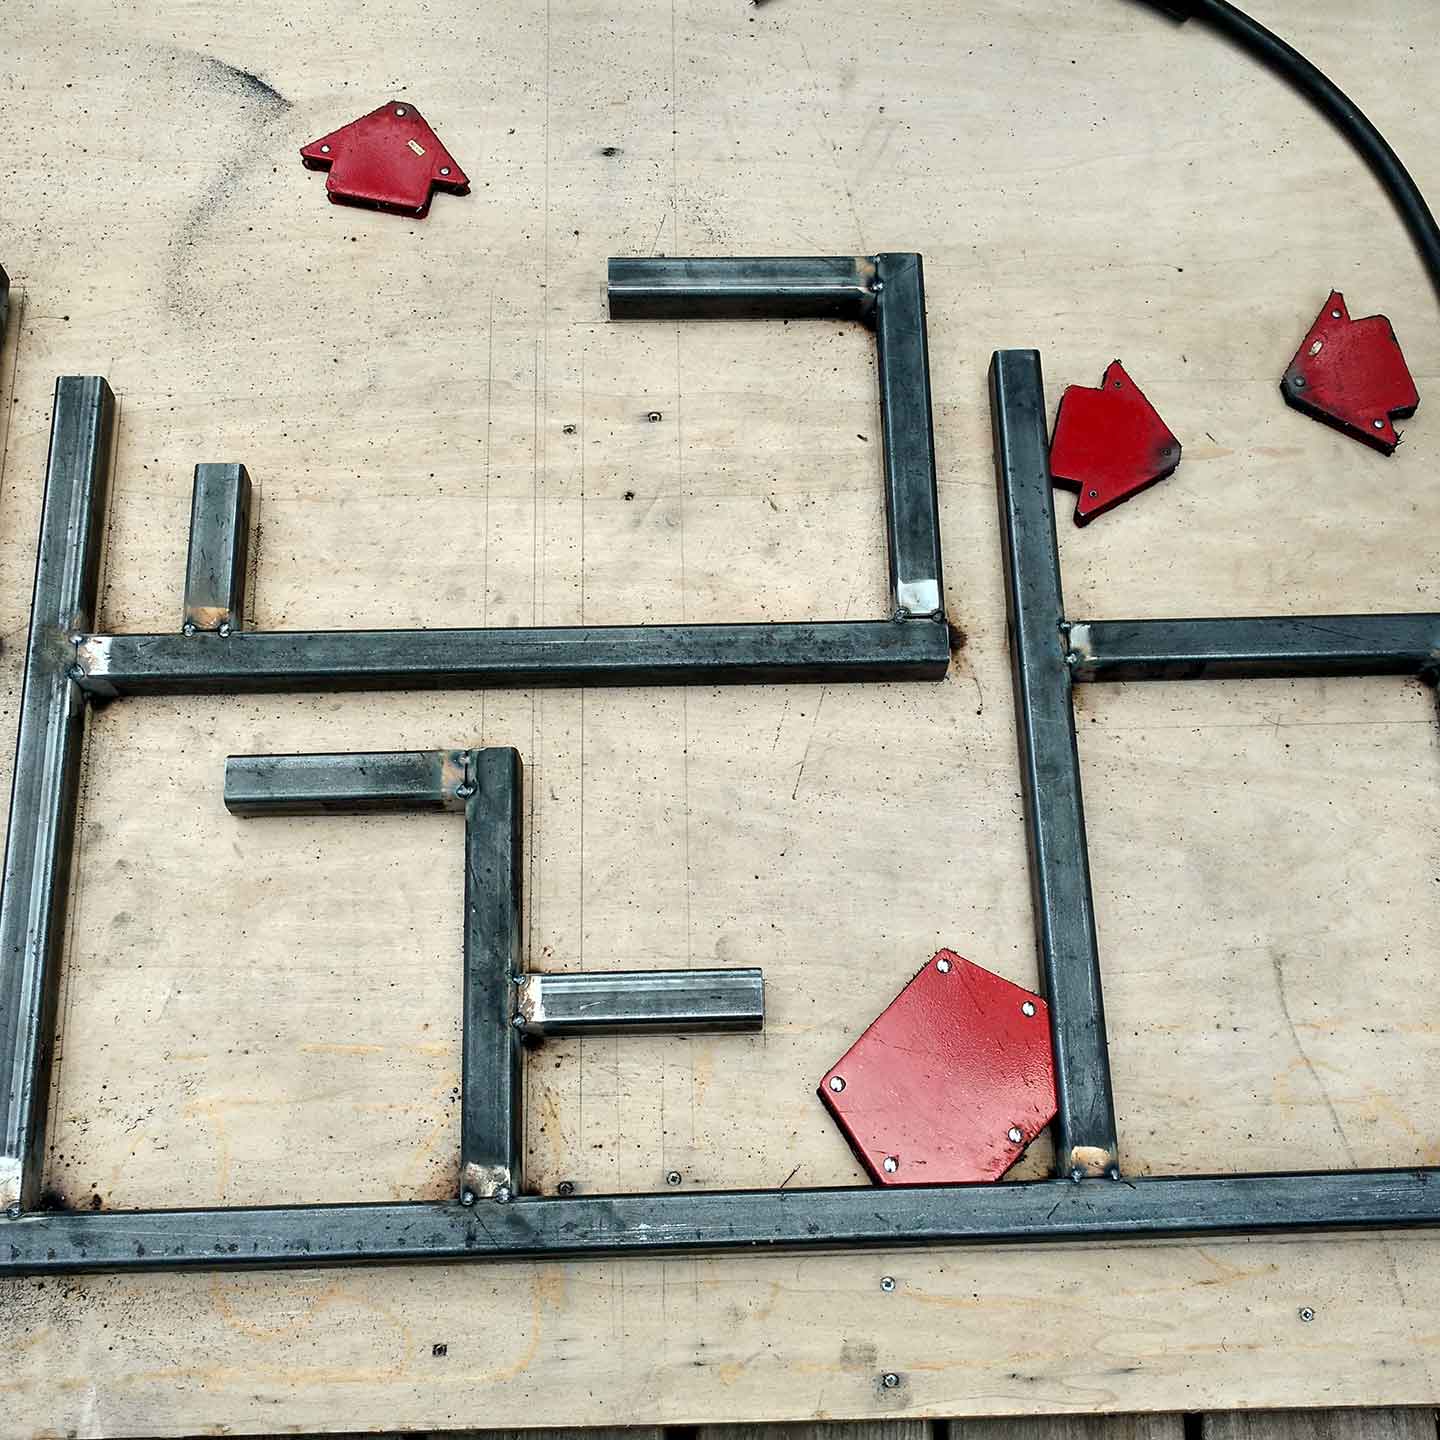
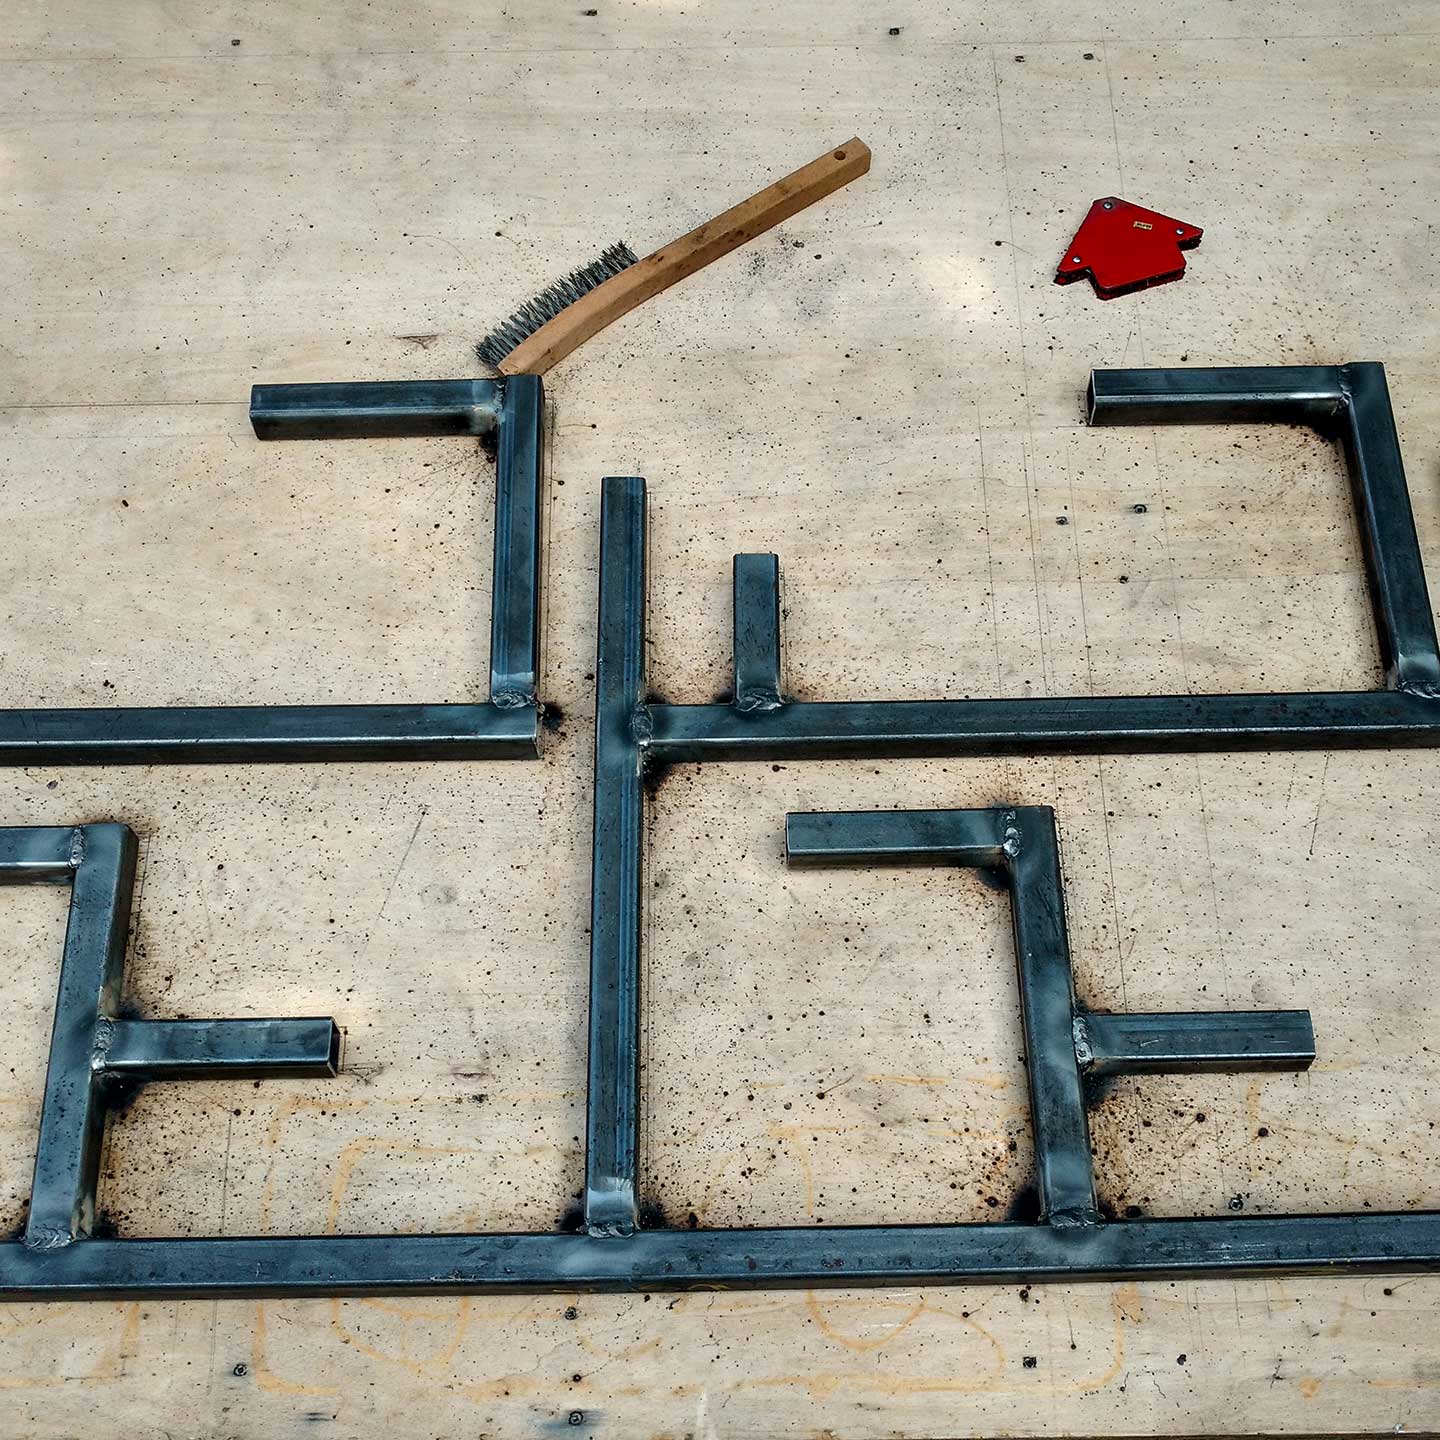
I used a large sheet of plywood to layout the pattern. It took a couple of tries to get drawn right. Even though there is a repeating pattern, it’s easy to mess it up. Better make an error on the pencil drawing than on the welded frame. I used my set of 90° magnetic angles to things in place while I tacked welded the parts together. I tack one side, flip the piece over then tack the other side. Once everything was tacked up, square and straight I’d proceed to do the final weld. I would only weld one side of one piece at a time. This allowed the part to stay cool and not warp too much.
Installing the decorative Panels
Once the pieces were done, it was time to assemble them into the space. As you can see the way they were designed, they interlocked visually. It was hard to tell that these were two exact pieces. The design turned out great and looks great on the front porch. The uncapped ends of the tubes create little musical notes when the wind blows. The part is not only visual but audible. This was a super fun project to work on out of steel and I learned a lot of the process.
(Most of the links listed are affiliate links. As an Amazon Associate, we earn from qualifying purchases. Thank you for supporting us in this way. You can read more here .)