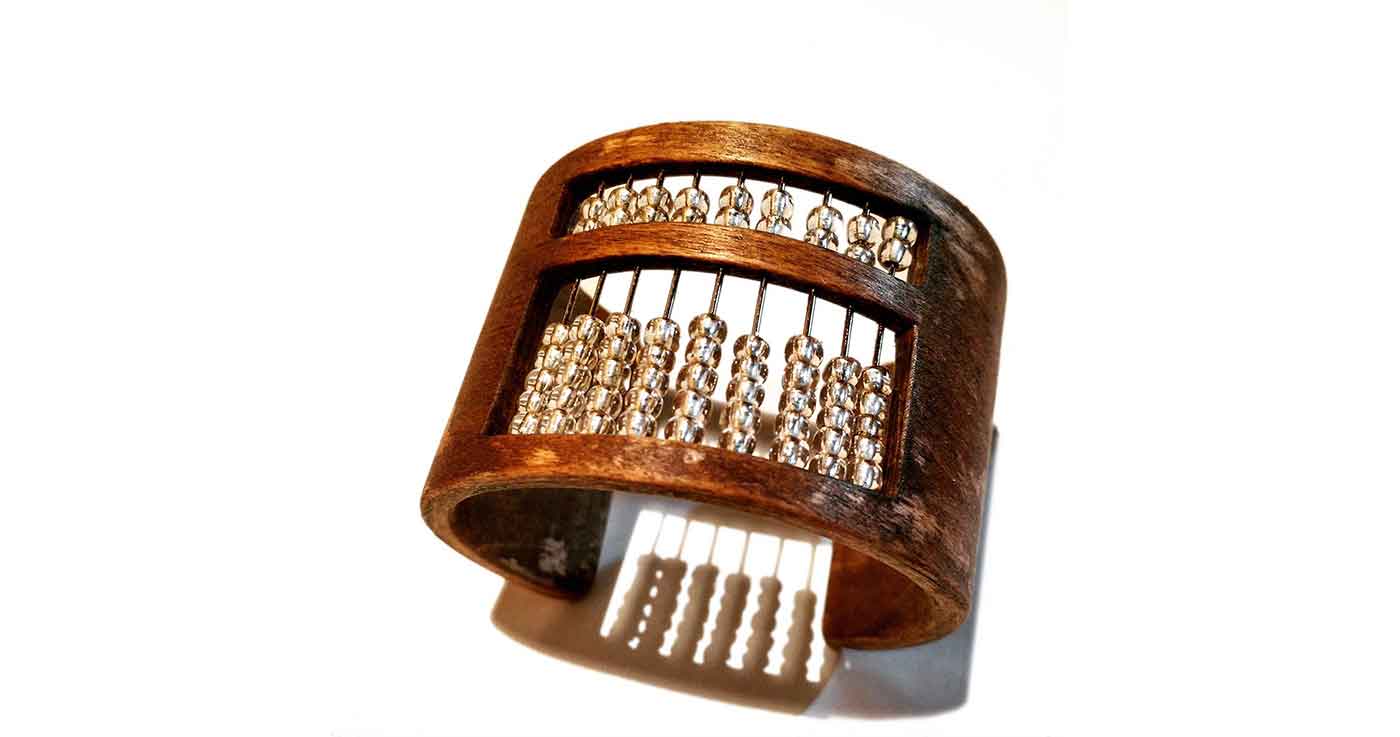
I’ve been interested in doing some laminated wood projects as I haven’t made many. I figured it would be easier to start with a small project. Looking on the web, I was able to find something that was interesting. I came across this Abacus bracelet. I thought it looked really cool and something that my wife would like.
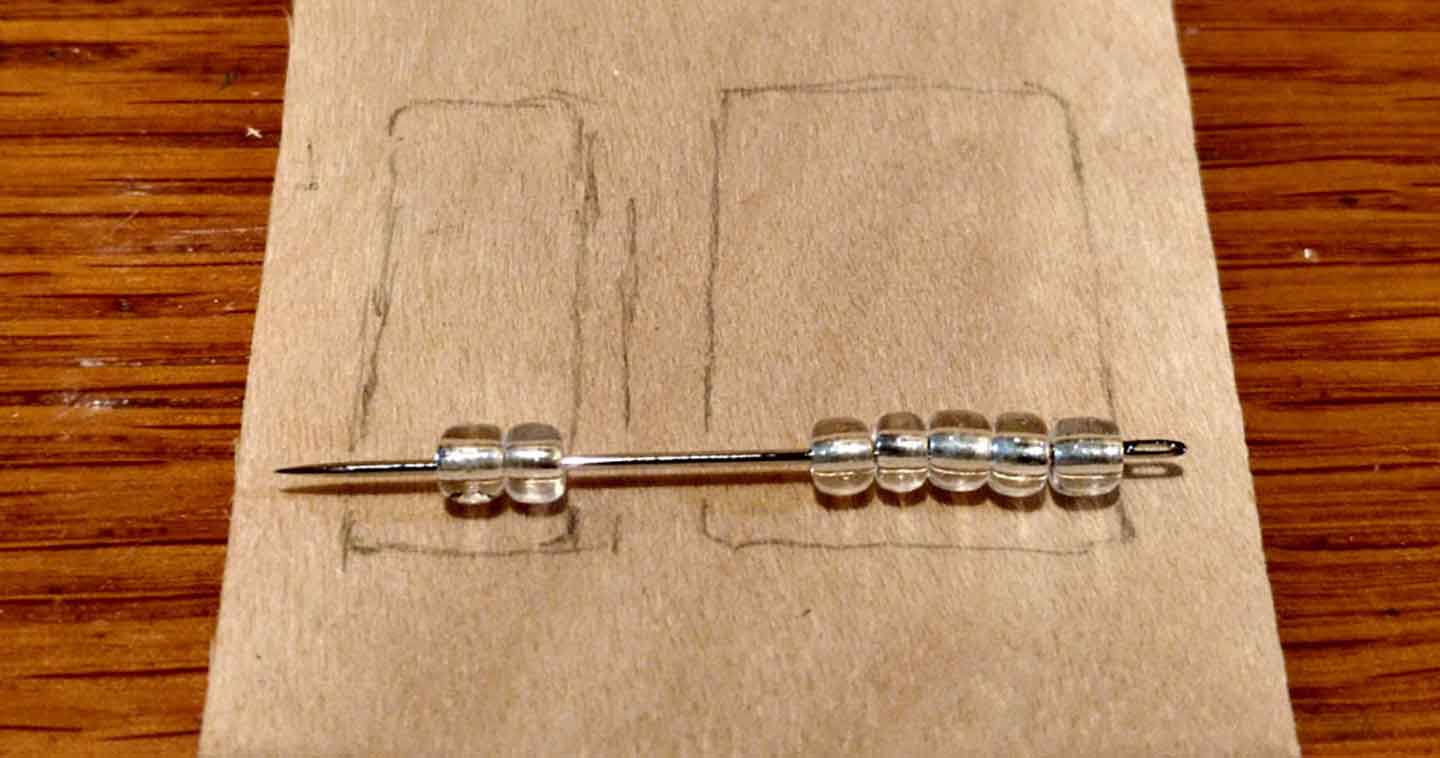
The components for this project are pretty simple. The majority of the components I had lying around but you can easily pick them up from a big-box store. In order to hold the beads together, I went with sewing needles. You could use thin metal wire. I went with thin sheets of veneer, which you can find in the wood molding section of a big box store. I used a couple of gear clamps that were sized a little larger than the piece of pipe I was going to use. I went to the plumbing section and got a piece of black ABS pipe that was about 2.5 inches in diameter. A used a dark stain that I liked. From a craft store, I bought the box of beads and sewing needles. A saw and a sharp knife were used to cut the wood veneer.

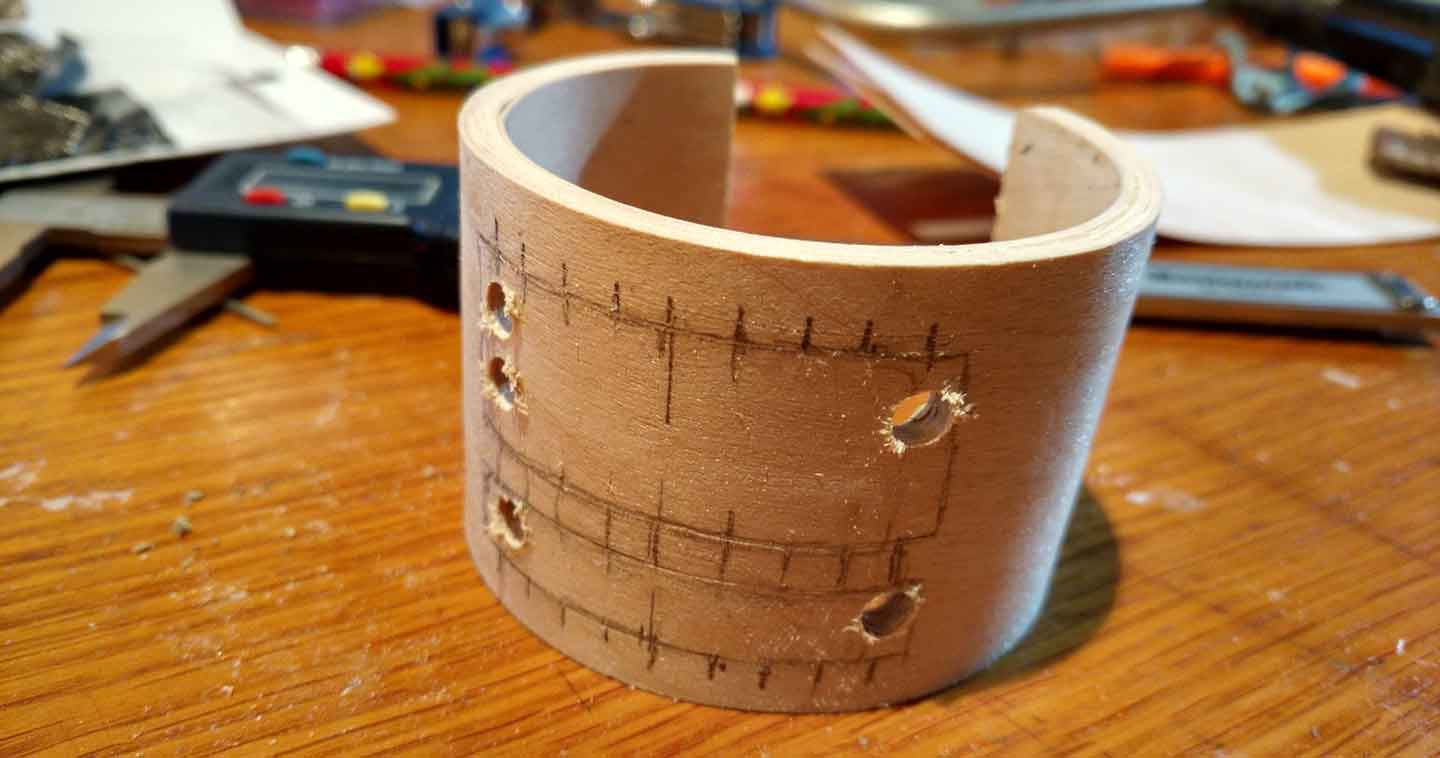
The size of the abacus was sketched out on what would be the top sheet of veneer of the bracelet. The opening sizes for the beads were roughly sketched out. Once I was happy with the size, I used a ruler to sharpen off the lines and square everything up.
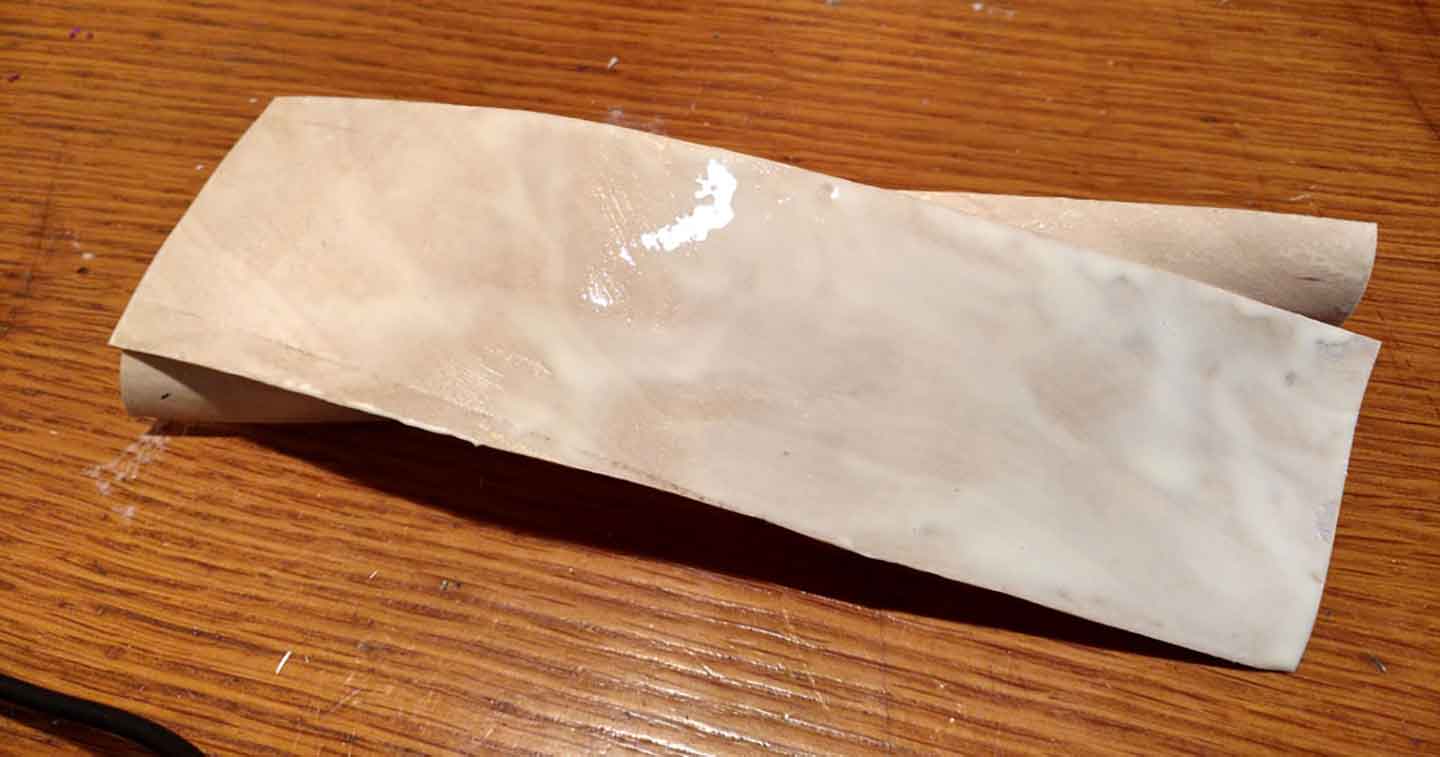
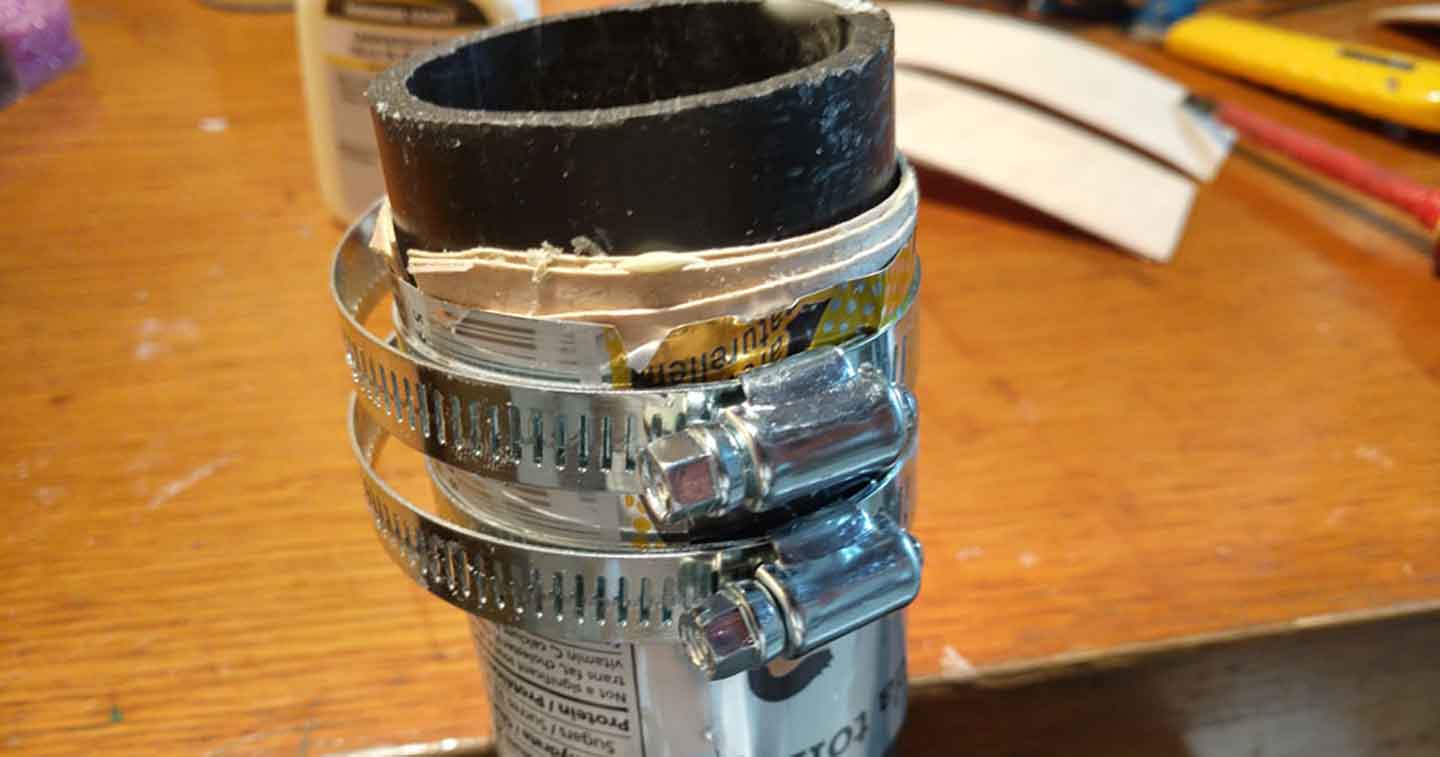
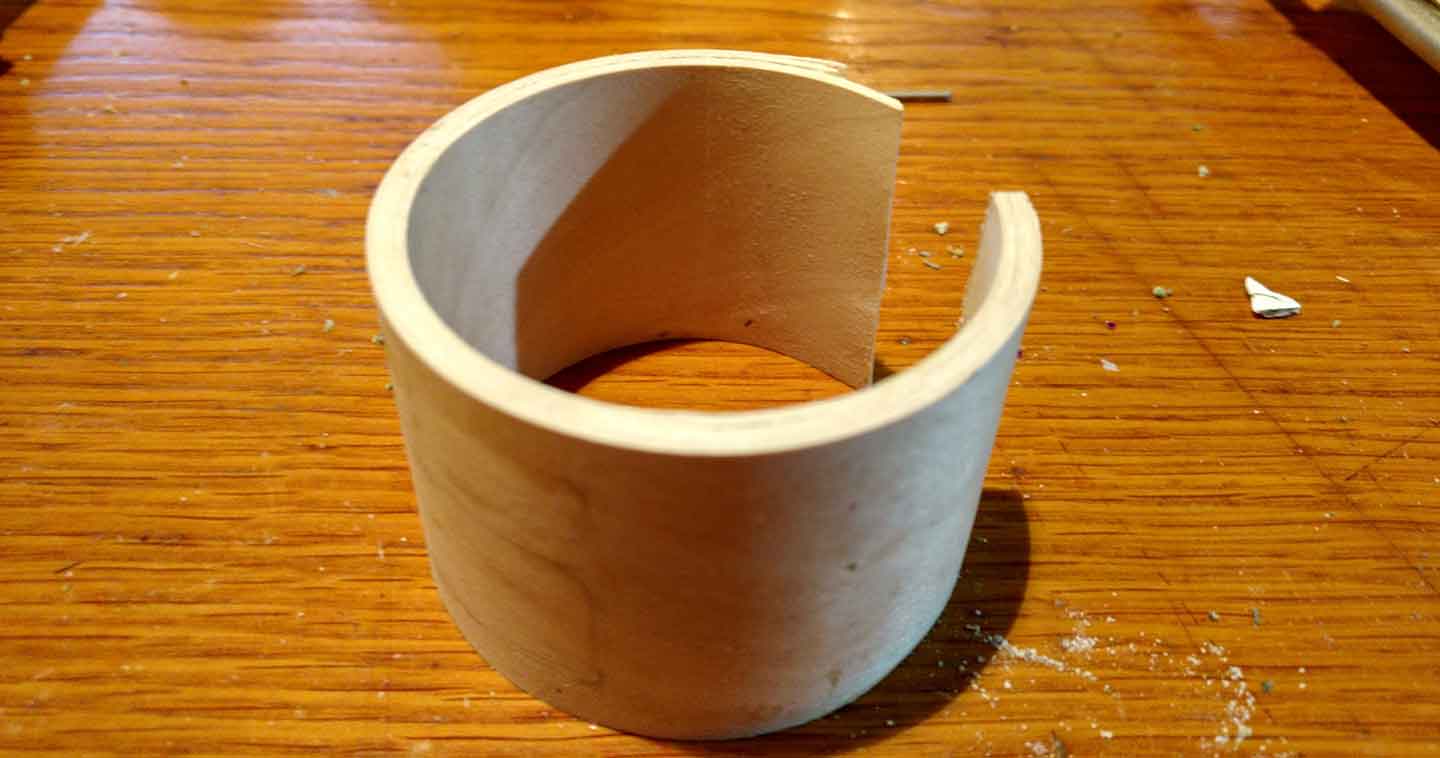
Strips of veneer were cut to width using the knife. The length of each strip was calculated for the circumference of the abs pipe. Glue was applied to one side of each strip, then applied to each other. I used about six or seven layers of veneer. Once the stack was complete, it was wrapped around the ABS pipe. To prevent damage from the gear clamp, a strip of aluminum was cut from a pop can. The gear clamps were applied over the veneer everything and then tightened. The glue was then allowed to dry for 24 hours.
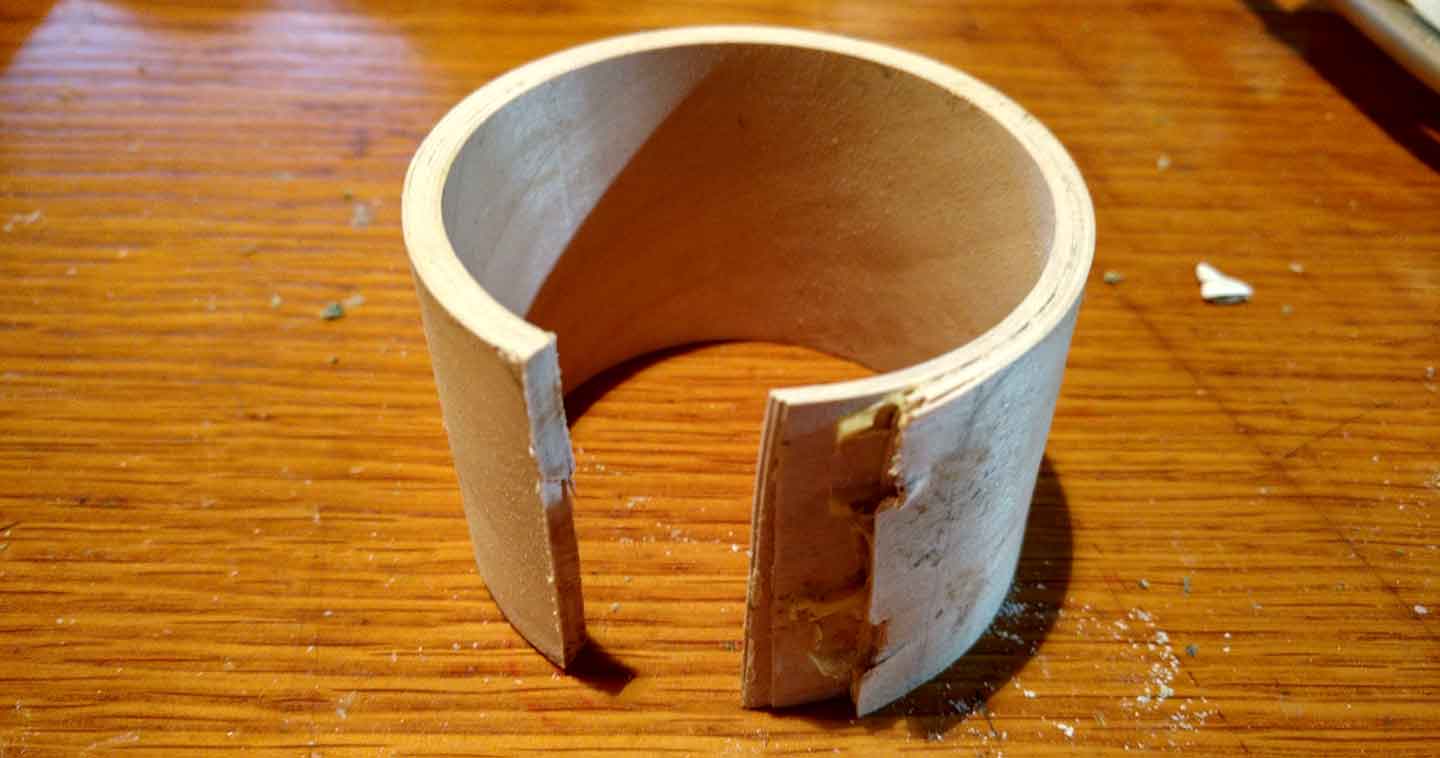
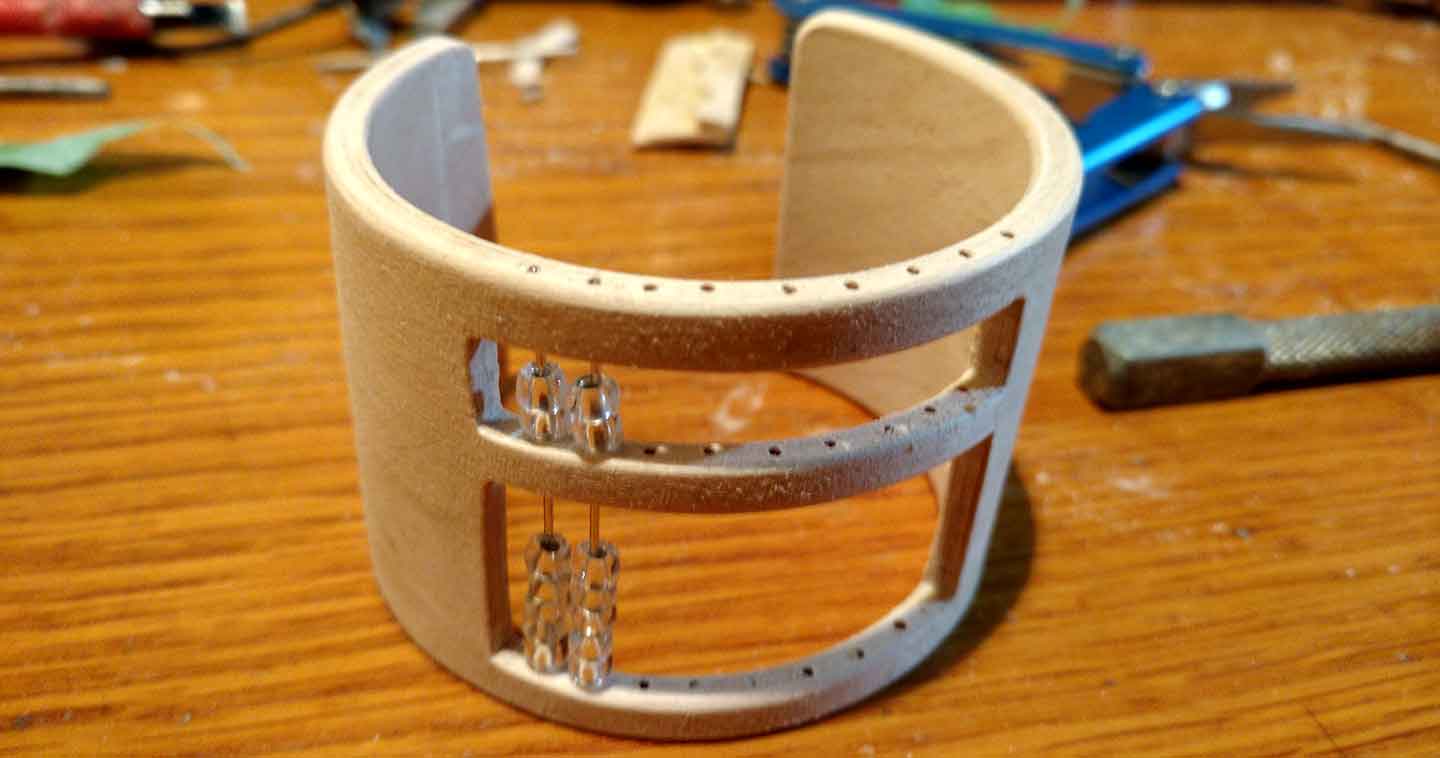
Once everything was dried, the width of the laminated bracelet was trimmed with a hand saw. Some sandpaper was then used to flattened the top and bottom of the bracelet. The next step was to trim the open ends of the bracelet. You can see the laminated sheets in the photo. The sharp corners are then rounded off so you wouldn’t catch yourself on it or on your clothes.
Small holes were drilled in the front so a coping saw can be used to cut out the openings where the beads will sit. A very fine drill and a drill press were used for the holes where the sewing pins will go into.
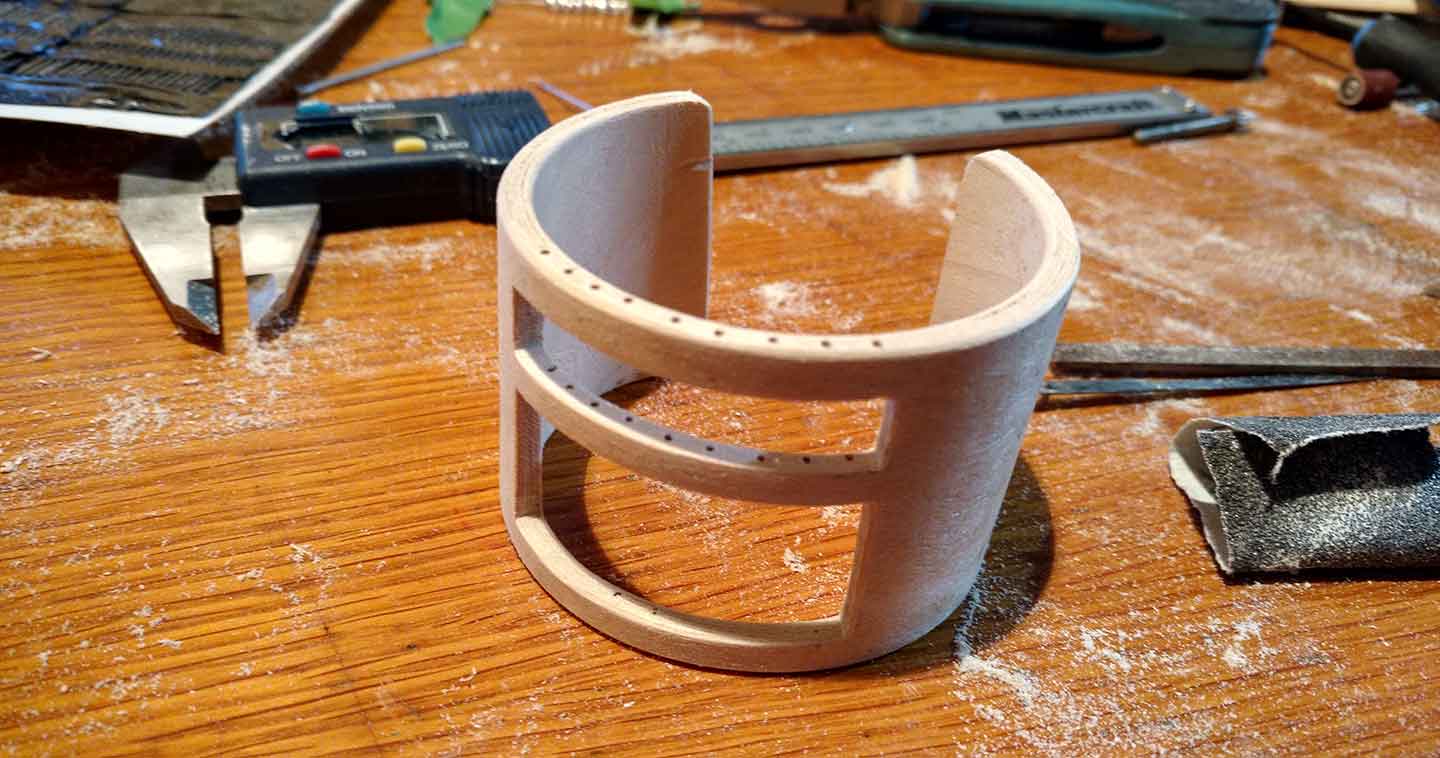
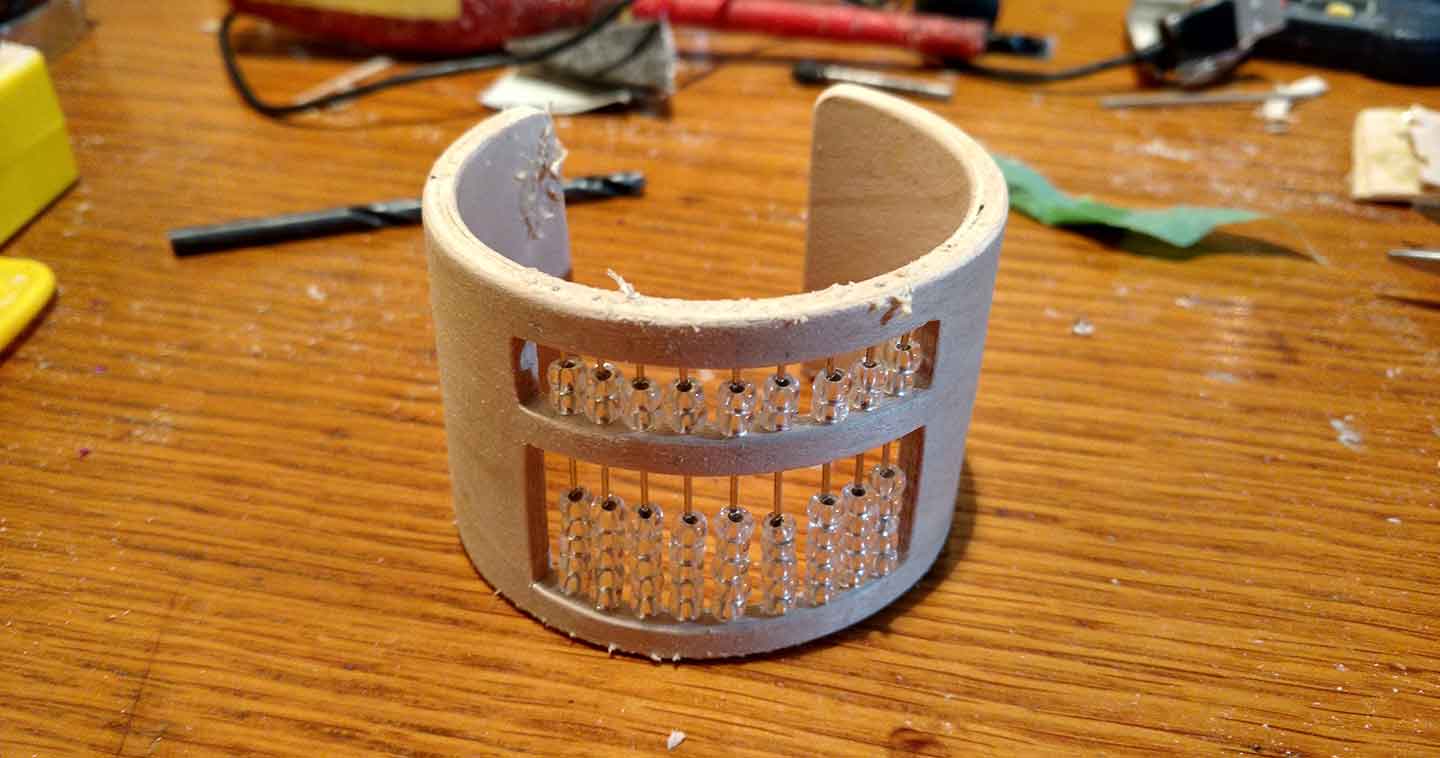
The pins and beads are installed into place. Wood filler is used to fill in all the tiny little holes and imperfections in my lamination. I let this dry for another 24 hours. A light sanding with 220 grit sandpaper is then used to smooth everything. once everything was dried and sanded the bracelet was stained. Unfortunately, there was some glue that the stain didn’t take. It’s not as even applications as I’d like.
All-in-all, this was a fun little project to make. I enjoyed the process of taking strips of veneer wood and forming them. Lessons about glue and stain were learned. Overall I’d make another laminated bracelet with my new skills.
Some of the links in the post are affiliate links. This means if you click on the link and purchase them, Gregarious Gizmos will receive an affiliate commission at no extra cost to you. All opinions remain the owners and employees of Gregarious Gizmos